
Latest Project.
Featured


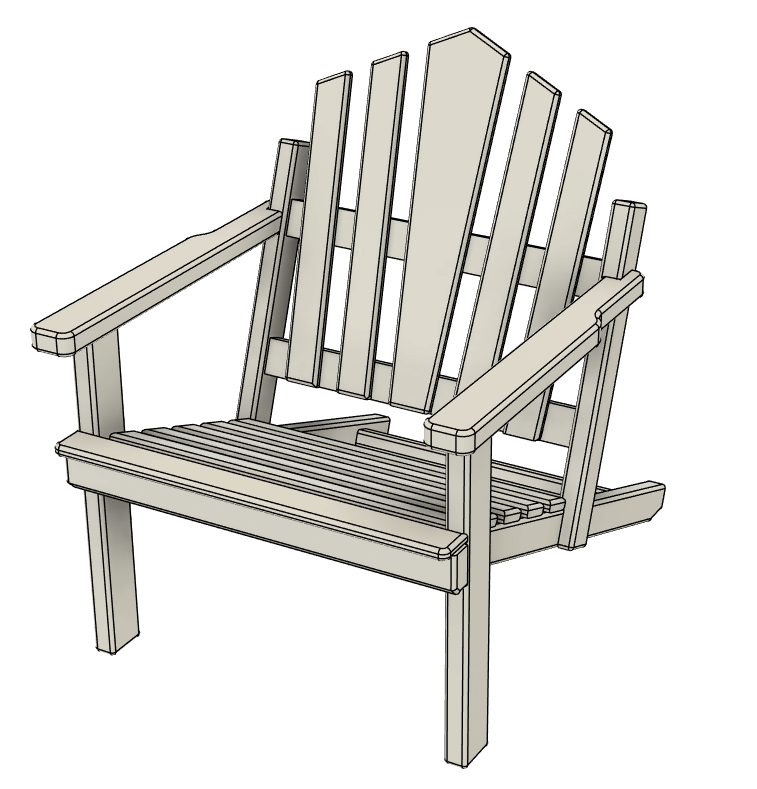
This set of instructions will walk you through step-by-step in creating a kid-sized Adirondack chair. This chair features a classic slatted back and seat with wide armrests for comfort and stability. Its simplified geometry and sturdy proportions make it ideal for outdoor use while maintaining the timeless aesthetic of full-sized Adirondack designs. This is a good project for the beginner to intermediate woodworker and will definitely help you hone your skills. This is a fun project and certainly makes an excellent gift!
DIMENSIONS: The chair seat height is 8” at the front and the seat width is 12”. The overall dimensions are 17 5/8” tall, 14 3/4” wide, 18” deep.
This document contains detailed step-by-step instructions on building Fisher's Kid-sized Adirondack that is depicted in the video on Fisher's Shop YouTube channel. Haven't seen the video? Here’s a link to it! https://youtu.be/zMAO71yV5Xk
**Please note this is a DIGITAL FILE, not the physical item shown as the example.
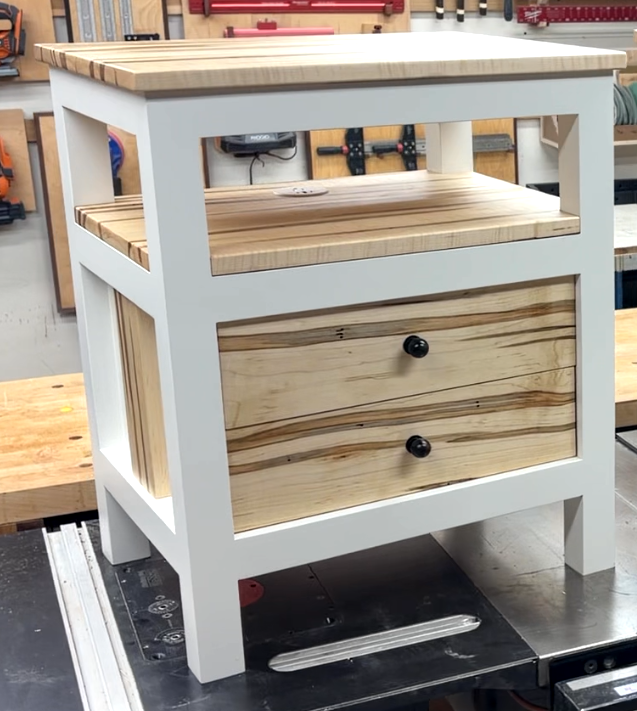
This set of instructions will walk you through step-by-step in creating these simple, yet great-looking, nightstands. Each one features two spacious drawers as well as a shelf and a top surface for an abundance of storage opportunity. To make them even more functional, I chose to include a recessed outlet and phone charger in each one. Additionally, using a decorative hardwood for the drawer fronts, accent pieces, shelf, and top will really make these pieces of furniture the highlight of the room! This is a fun project and great for the beginner to intermediate woodworker to hone their skills on.
DIMENSIONS: The nightstands have a dimension of 23” wide x 18 1/4” deep x 27” tall.
This document contains detailed step-by-step instructions on building Fisher's Nightstands that are depicted in the video on Fisher's Shop YouTube channel. Haven't seen the video? Here’s a link to it! https://youtu.be/Thhln4s0TsE
**Please note this is a DIGITAL FILE, not the physical item shown as the example.
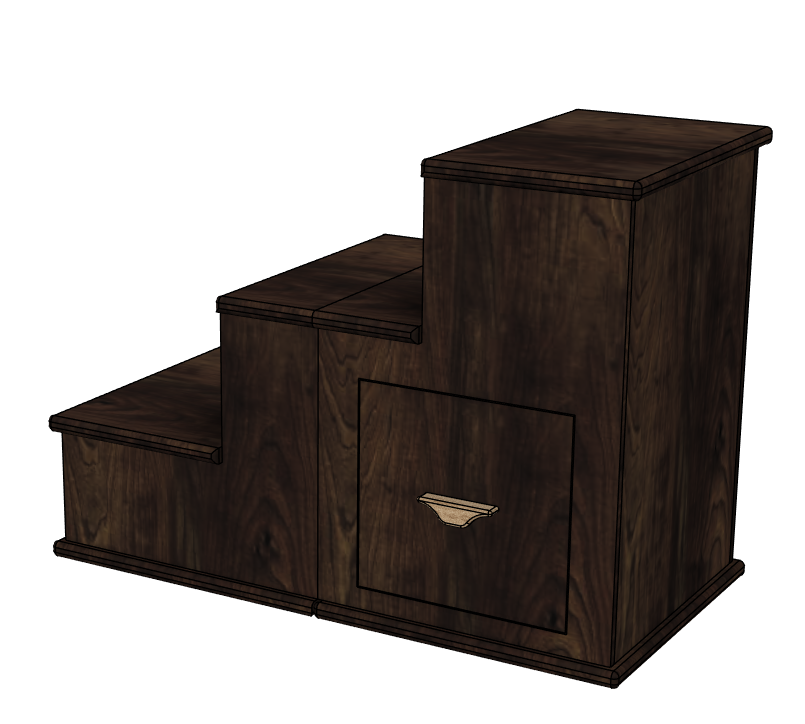
This set of instructions will walk you through step-by-step in creating these space-saving stairs that will help your furry friends get up onto the couch or the bed. When not deployed, this unit could easily be an elegant end table or a nightstand. There’s an integrated drawer in the taller section that offers plenty of storage. The inlayed hinge allows the two pieces to be smoothly transitioned from a set of stairs to an end table making it suitable for either the bedroom, living room, or family room. This is a fun project and great for the beginner to intermediate woodworker to hone their skills on.
DIMENSIONS: When deployed, the stairs have a dimension of 29” long x 15 1/2” wide x 21” tall. When folded up, the dimensions are 14 1/2” long, x 15 1/2” wide x 28” tall.
This document contains detailed step-by-step instructions on building Fisher's Folding Stairs that is depicted in the video on Fisher's Shop YouTube channel. Haven't seen the video? Here’s a link to it! https://youtu.be/rnq-EIWECBo
**Please note this is a DIGITAL FILE, not the physical item shown as the example.
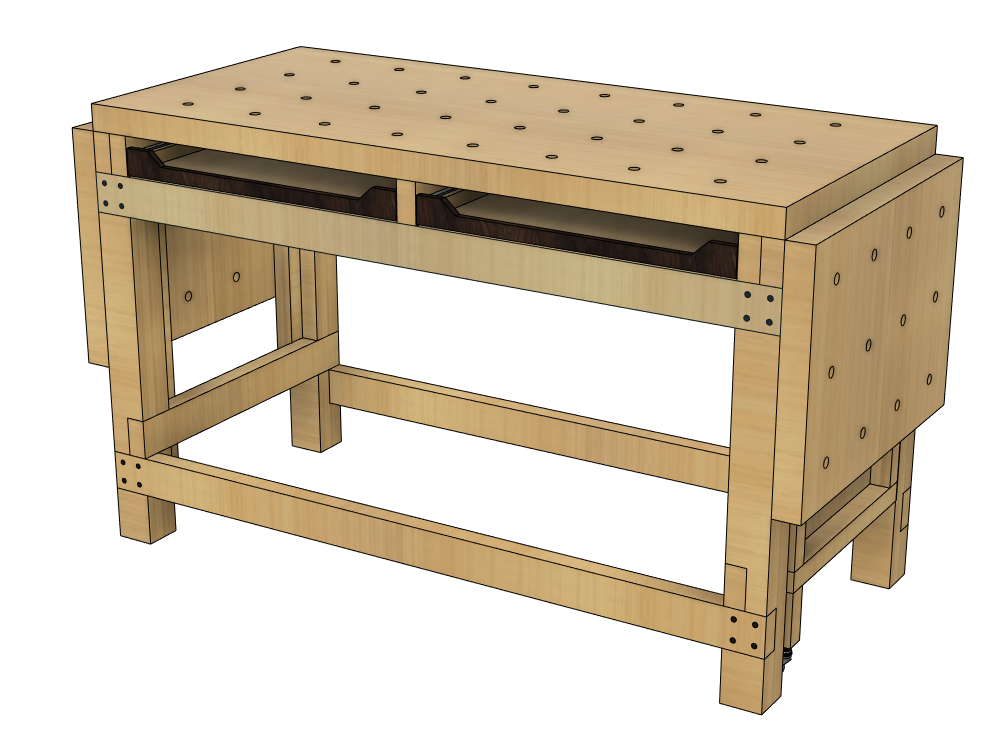
I set out to design the perfect hybrid workbench for my little shop. It has a decent-sized work surface (54” x 25”) that can extend with two flip-up sides to a whopping 90 inches long! There’s two pull-out “dust catcher” trays that will be great to keep things tidy as well as house some frequently-used tools. An integrated power outlet makes using desktop power tools super convenient. And the dog-hole hold downs coupled with Bessey’s clamps make it a cinch to easily do work holding on the flat surface, the vertical sides, or even against the front of the bench! This is truly the “ultimate” in hybrid workbenches! What’s great is that because it’s designed with standard dimensions of 3” x 1 1/2”, you can easily use standard construction-grade lumber to build this if you’d like. So, pick up the plans and get to building!
Specifications: Depth: 25”, Width: 58” (folded) 90” (extended), Height: 33 3/4”
Dimensions: All measurements are in Imperial format only!
File Format: This document is a PDF and readable using Adobe Acrobat Reader or other PDF-compatible viewers.
This document contains detailed step-by-step instructions on building the Fisher's Workbench that is depicted in the video on Fisher's Shop YouTube channel. Haven't seen the video? Here's a link to it!
**Please note this is a DIGITAL FILE, not the physical item shown as the example.
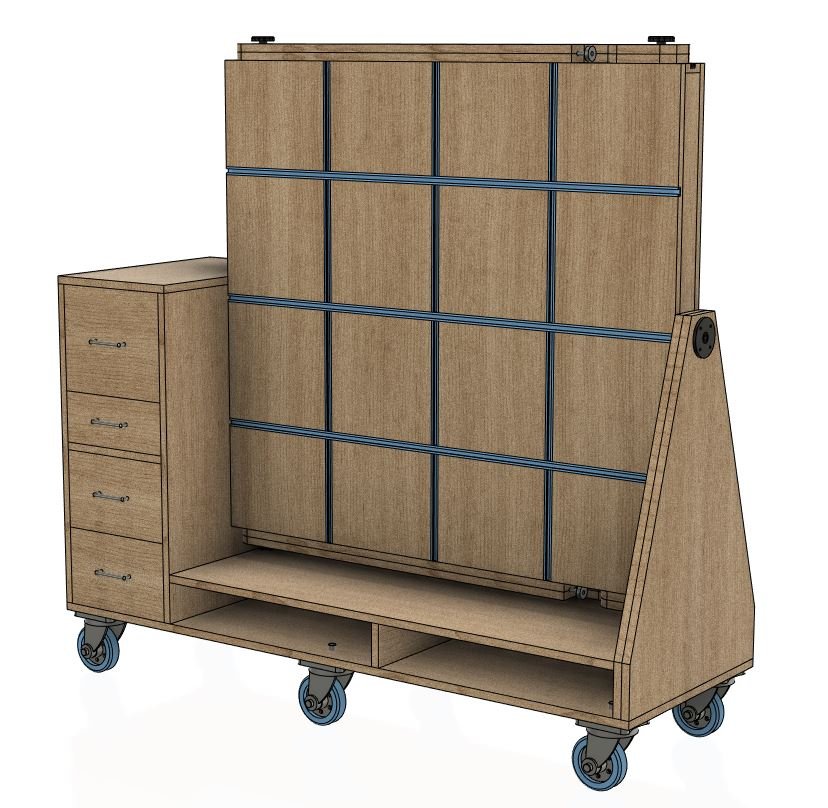
In my tiny shop, space is of paramount importance. I was in need of creating a large table that could both be a good work surface as well as a table for a CNC machine. Above all, the table needed to have a slim profile and a small footprint. I ended up designing the perfect solution that meets all my requirements and more! This table has a flippable surface that allows you to configure each side to accommodate your shop needs. Furthermore, it can be stored in the vertical position giving the table a slim form factor and conserving a ton of space! Add in all the other features such as integrated storage, nesting collapsible legs, integrated power, and you’ve got a heck of a space saving assembly table on your hands!
UPDATE: These instructions include the necessary dimensions to build a larger version of this foldable assembly table that will accommodate the OneFinity Journeyman as well!
Dimensions: All measurements are in Imperial format only!
Work surface dimensions:
48" x 46 1/2"
65” x 46 1/2” (Journeyman size)
Approximate dimensions:
Folded up: 60"H x 63"W x 22"D
Folded up (Journeyman size): 60”H x 80”W x 22”D
Deployed: 38"H x 63"W x 49 1/2"D
Deployed (Journeyman size): 38”H x 80”W x 49 1/2”D
File Format: This document is a PDF and readable using Adobe Acrobat Reader or other PDF-compatible viewers.
This document contains detailed step-by-step instructions on building the Mobile Assembly Table depicted in the video on Fisher's Shop YouTube channel. Haven't seen the video? Here's a link to it!
**Please note this is a DIGITAL FILE, not the physical item shown as the example.
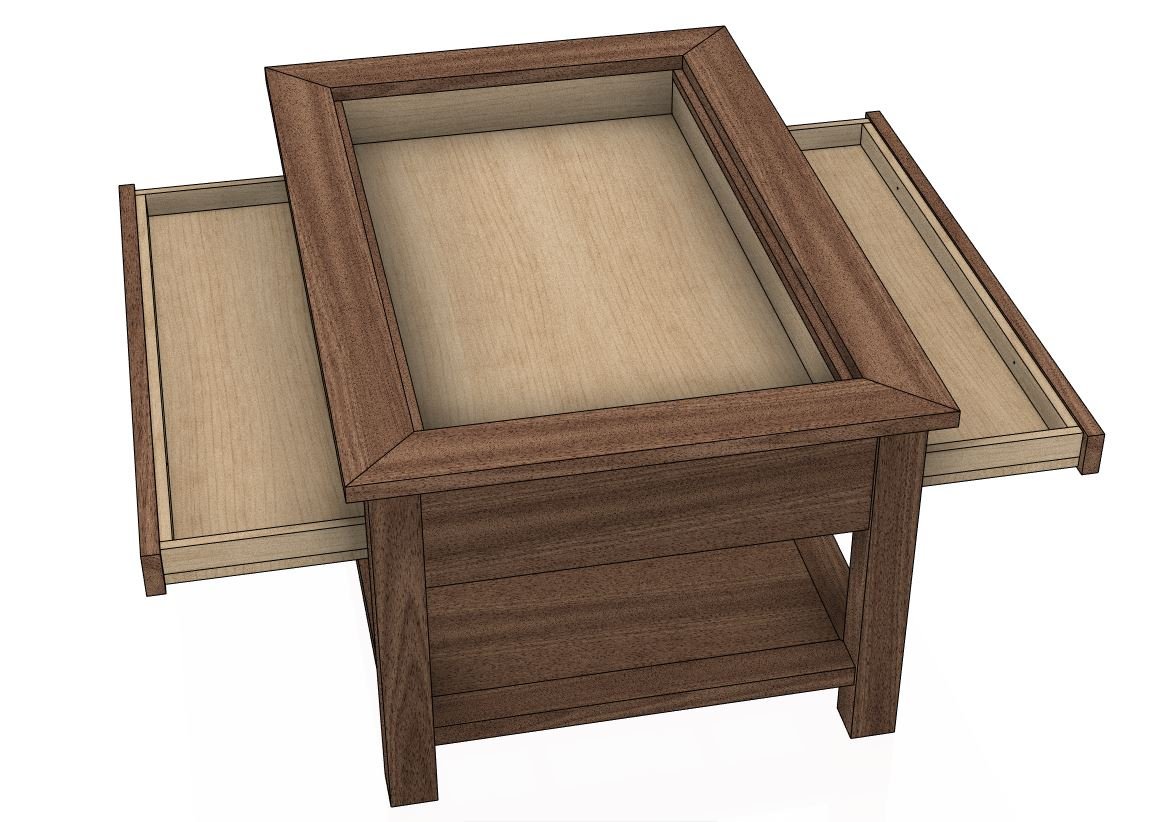
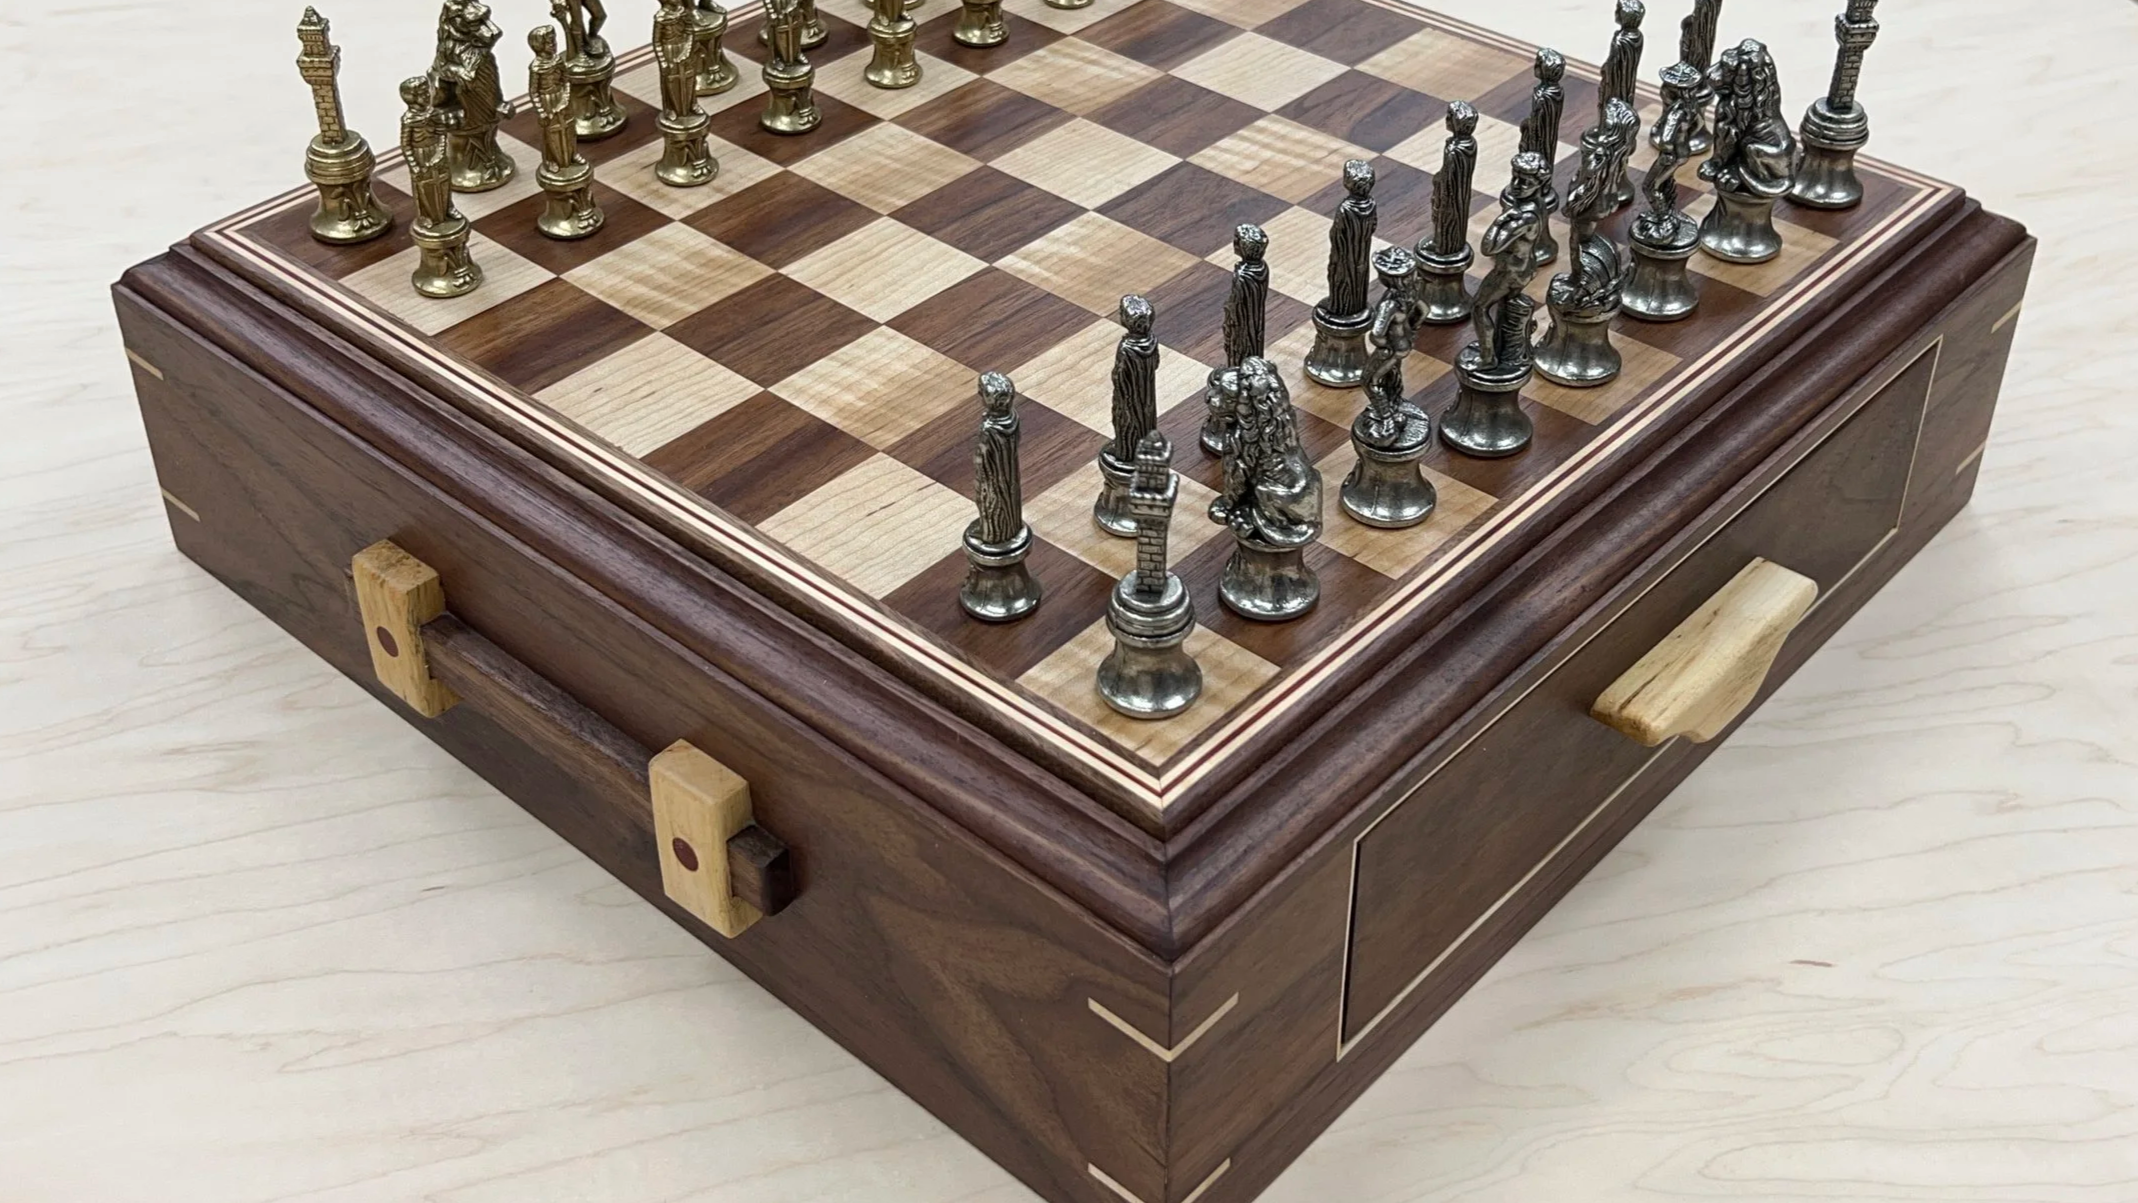
I really enjoy assembling puzzles and playing board games with my family, but we needed a better spot to do it. This puzzle/gaming table is a perfect solution! It allows me to preserve the puzzle I'm working on inside and it has two drawers on either side to hold the unassembled pieces. Removable surface boards keep the puzzle protected from being bumped or having any pieces lost as well! When playing board games, the surface boards can be flipped over and inserted into the mortises on the sides of the table to become gaming trays. These trays offer additional space as well as a convenient way to keep cards, tiles, or game pieces organized! This typical-looking coffee table is a wonderful piece of functional furniture that is sure to provide many hours of enjoyment while improving the overall gaming experience!
Some stats about the table:
Table height: 17 3/4"
Table surface dimensions: 24" x 36"
Inside box dimensions: 17" x 30"
Surface board gaming tray size: 7 1/2" x 18" each
Games of Monopoly I've won on this table: 0
Dimensions: All measurements are in Imperial format only!
File Format: This document is a PDF and readable using Adobe Acrobat Reader or other PDF-compatible viewers.
This document contains detailed step-by-step instructions on building the ultimate gaming coffee table depicted in the video on Fisher's Shop YouTube channel. Haven't seen the video? Here's a link to it!
**Please note this is a DIGITAL FILE, not the physical item shown as the example.
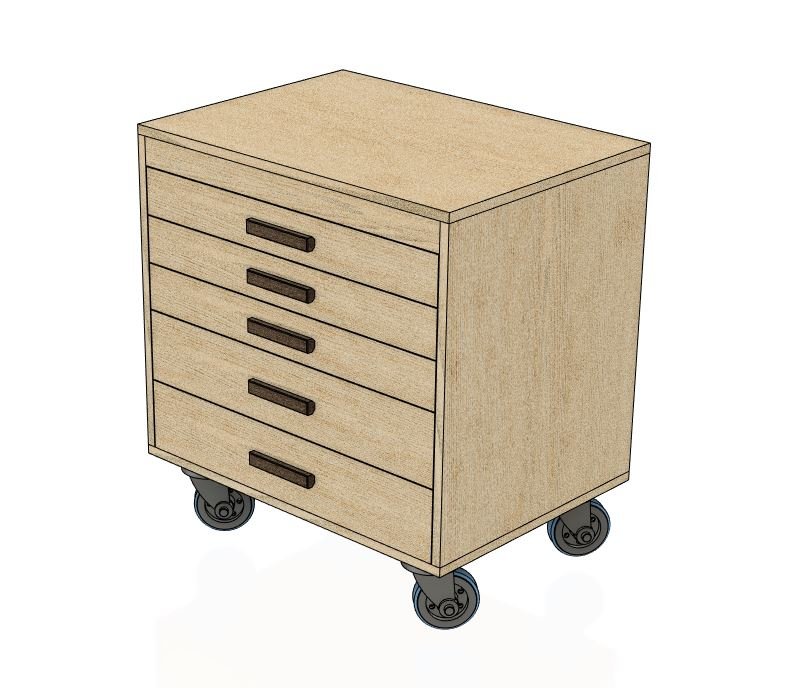
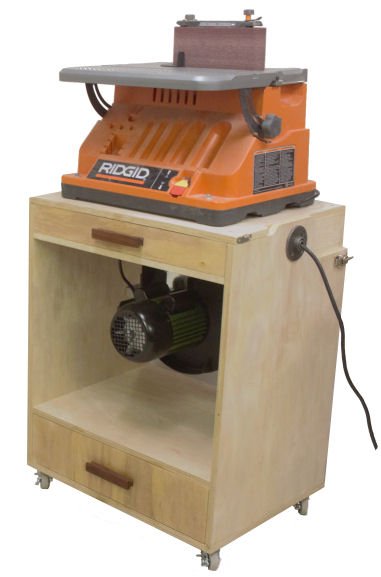
Years ago I built a first piece of shop furniture. It was a sad excuse for a mobile planer stand and severely lacked in both the storage and functionality departments. I really needed something better so I set out to design something that would be an upgrade on all accounts. Imagine my surprise when I discovered my new design can be completely built from just two sheets of plywood with very minimal waste. It's the Two Sheet Tool Seat! I decided to go with drawers instead of a cabinet and chose heavy duty lockable casters to make it mobile. This thing has been an amazing upgrade to the shop, has an incredible amount of storage within, and was very affordable to build since it only needed two sheets. Check out the video and see if it could be a fit for your shop too!
Dimensions: All measurements are in Imperial format only!
Dimensions of cart (w/o casters): Width:30" Depth:22" Height:26.5" (without casters)
File Format: This document is a PDF and readable using Adobe Acrobat Reader or other PDF-compatible viewers.
This document contains detailed step-by-step instructions on building the mobile tool cart depicted in the "Shop Work: Building a Mobile Tool Cart" video on Fisher's Shop YouTube channel. Haven't seen the video? Here's a link to it!
**Please note this is a DIGITAL FILE, not the physical item shown as the example.
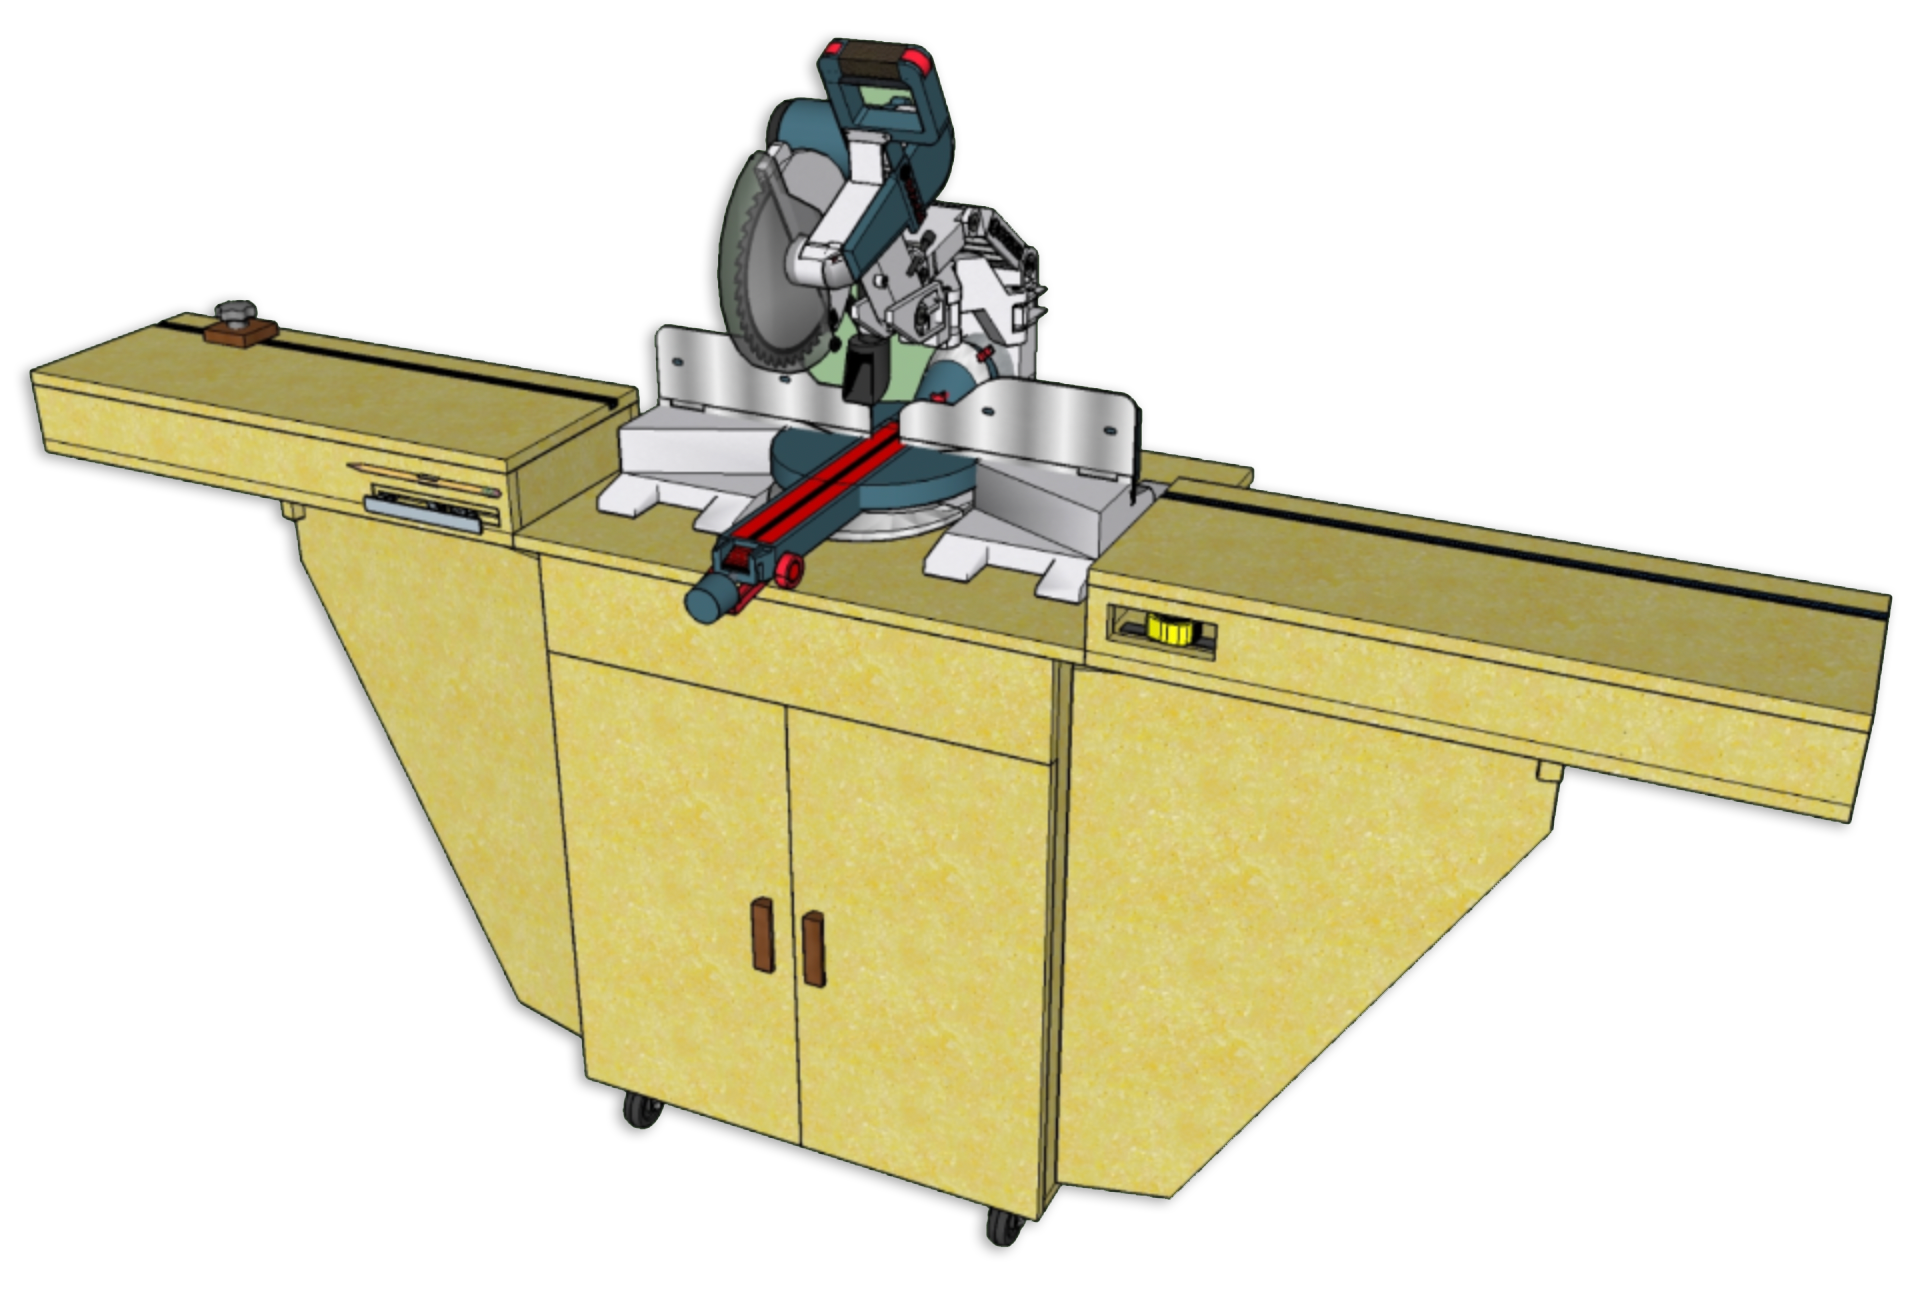
These plans are to build the Fisher’s Mobile Miter Station as depicted in the Fisher’s Shop video on YouTube. This miter saw cart features two side wings that fold up level to the work surface of your miter saw. There is a tool cubby in one that is big enough to hold a tape measure and a slot in the other that is perfect for a speed square. The cabinet below the saw can easily accommodate a shop vacuum as well as a cyclone system. You can keep the wings folded down to conserve footprint and then deploy them when you need that extra support for cutting large stock. Whether you’re in a small shop where space is at a premium or in a larger shop where you have plenty of room, the Fisher’s Mobile Miter Station offers a cohesive solution that’s easy to move and will adapt to your cutting needs!
Dimensions: All measurements are in Imperial format only!
38 1/2" tall
24 3/4" deep
40" wide (wings down)
95" wide (wings up)
File Format: This document is a PDF and readable using Adobe Acrobat Reader or other PDF-compatible viewers.
This document contains detailed step-by-step instructions on building the Fisher’s Mobile Miter Station that is depicted in the video on Fisher's Shop YouTube channel. Haven't seen the video? Here's a link to the video of the project.
**Please note this is a DIGITAL FILE, not the physical item shown as the example.
I reinvented the flip cart with a clever new design so that it's not only a space-saving mobile cart, but it's also easier to use than any other design I've seen! The surface is locked and completely stable with just a single latch and there's integrated power so you no longer have to mess with power cords for your tools! Now you can switch between tools in a matter of seconds and not have your work flow interrupted while you search for an outlet to plug in your machine. A removable front face-plate allows for quick and easy access to the integrated power strip, and a handy storage drawer is below that can hold all your tool accessories. This is truly the best piece of shop furniture I have in my workshop!
FAQ:
Q. I'd like to know how big of a tool I could mount on the cart, so what's the dimensions of the opening?
A. The dimensions of the cart's opening (above the shelf to the upside down surface) = W: 24”, D: 20", H: 19" The plans can easily be altered to accept wider or taller tools.
Q. Aren't you worried that the sides my splay out and drop the flip surface?
A. Not really. If you use quality plywood, it will be quite rigid. But if you're concerned about that, you can always leave your pivot pipe a bit longer, have your black iron pipe threaded on the ends, and screw on some end caps that would prohibit the sides from moving out.
Q. What's the weight this cart will hold?
A. My disc sander is roughly 85lbs and my spindle sander is around 35lbs. I used rather cheap sanded plywood and there's no indication that I'm anywhere near a weight problem. If you use higher quality plywood, you'd be able to load it up even more.
Dimensions: All measurements are in Imperial format only!
File Format: This document is a PDF and readable using Adobe Acrobat Reader or other PDF-compatible viewers.
This document contains detailed step-by-step instructions on building the Fisher's Flip Cart that is depicted in the video on Fisher's Shop YouTube channel. Haven't seen the video? Here's a link to it!
**Please note this is a DIGITAL FILE, not the physical item shown as the example.